

Learn Basketball
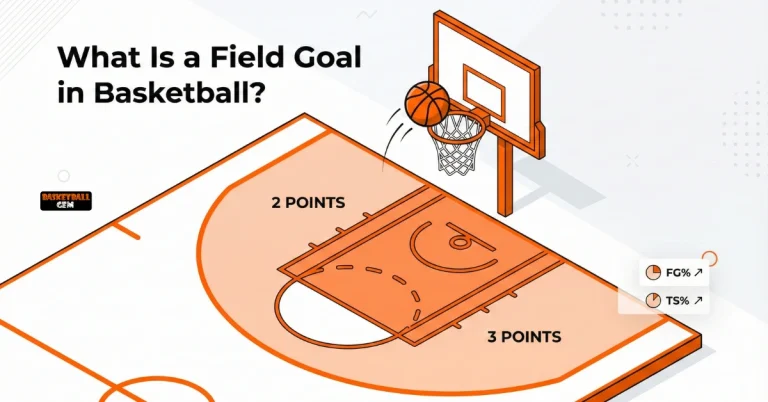
New to the game or brushing up on the fundamentals? Basketball Gem breaks down official rules, scoring systems, and gameplay concepts in plain language and no jargon, just clear answers. Whether you’re curious about what counts as a field goal or how overtime works, we’ve got you covered.


Step up your game with our in-depth basketball guides written by industry experts who know the sport inside and out. From perfecting your shooting form to setting up your backyard court, these practical, step-by-step resources help you play smarter, train harder, and enjoy the game even more.

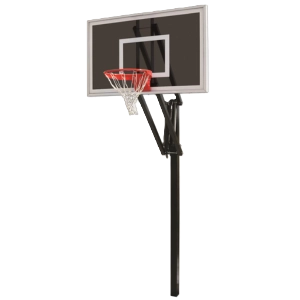
Best Basketball Hoops 2026
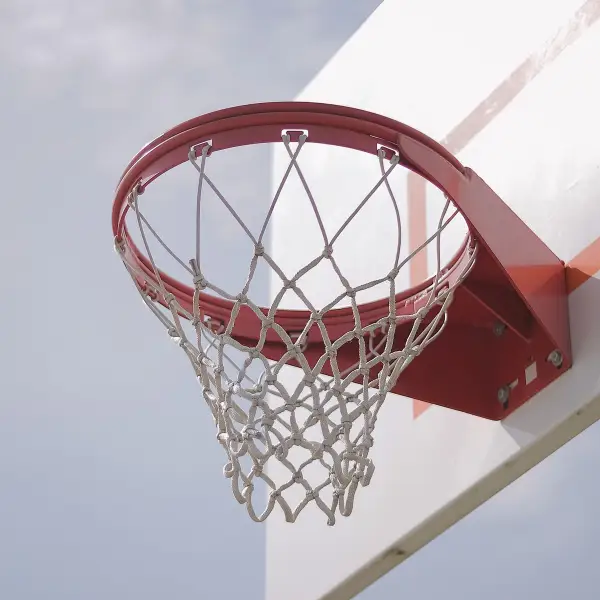
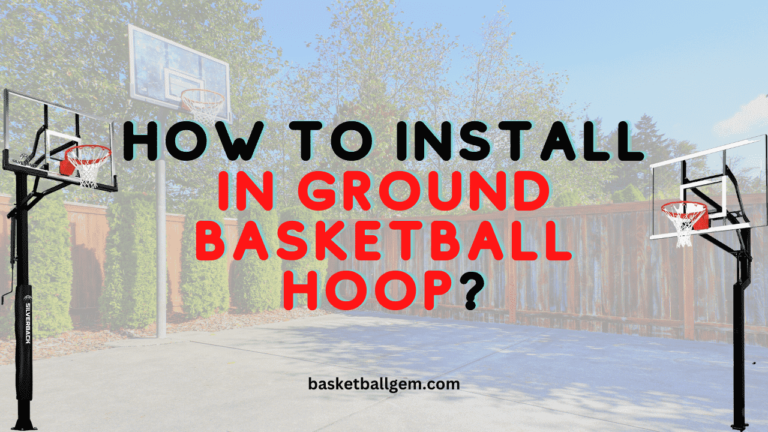
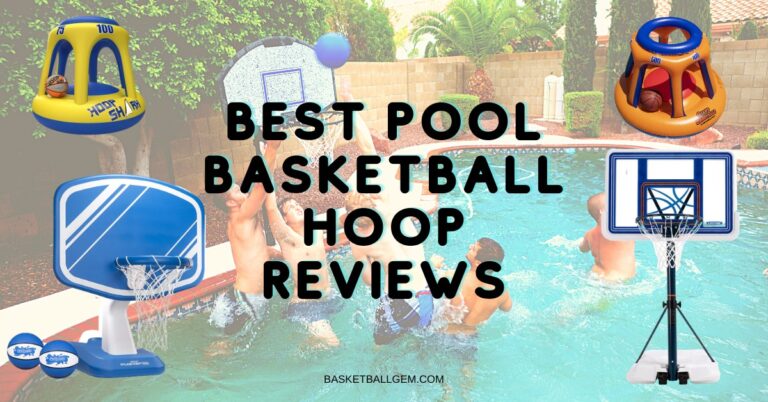
Choosing the right hoop can make or break your home court experience. Our roundups cover in-ground, portable, and pool basketball hoops, each carefully reviewed for stability, adjustability, durability, and value. Find the perfect setup for your driveway, backyard, or pool deck today.


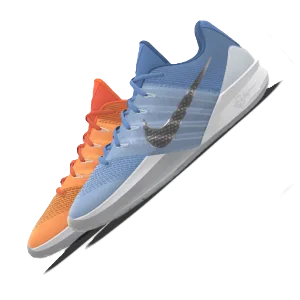
The right pair of basketball shoes can protect your ankles, boost your traction, and give you the edge you need on the court. We have covered everything from wide-fit options and women’s picks to high-ankle support models, so you can play with confidence from tip-off to final buzzer.


Best Basketball Balls 2026
Not all basketballs are created equal. The wrong ball can throw off your dribble, hurt your grip, and ruin your shot. Our expert ball reviews compare indoor, outdoor, and game-quality options across every budget, so you can find the ball that feels right and performs at its best.
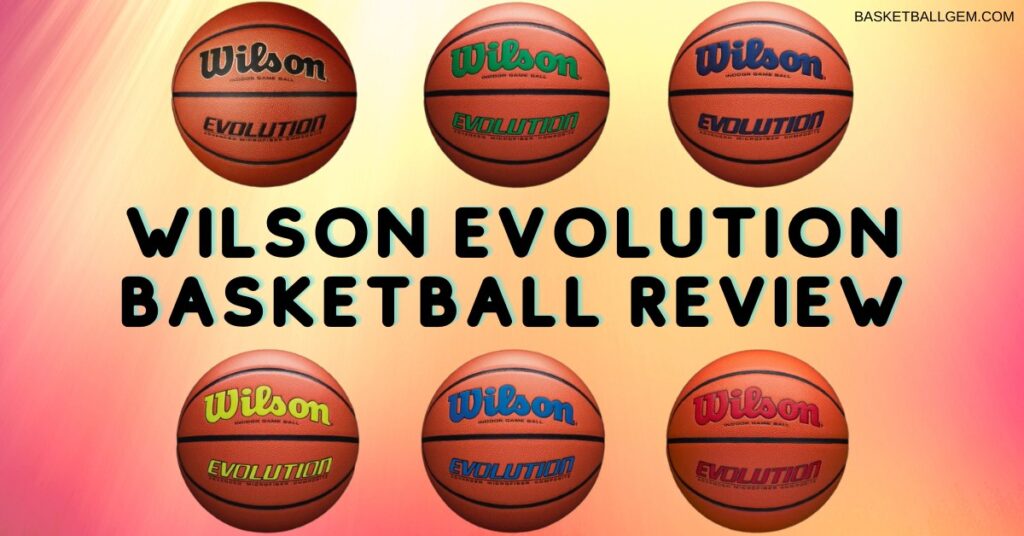
Wilson Evolution Basketball Review (Buy or Not?) – Basketball Gem

Best Indoor Basketball Reviews {Top-10} Exclusive Buying Guide
Amazing Basketball Facts
Basketball is full of jaw-dropping records, mind-blowing stats, and stories that go beyond the scoreboard. Explore the sport’s most extraordinary moments, from the highest vertical leaps in NBA history to records that may never be broken. Prepare to be surprised.

Highest Vertical Jump in NBA History: Top 15 Players Ranked (2026 Updated)
Get Latest Updates In Your Mailbox